
April 10, 2018
There are some simple, basic things that are part of normal life and mostly taken for granted that are either luxuries or non-existent when cruising. The basic thermostat most people have hanging on a hallway wall is one of those things.
Here in New Zealand, we use a little space heater to keep warm while at a dock with shore power. This is our newest one…

While it has a built-in thermostat, it’s not very effective – it probably can’t be since it’s measuring the temperature right on top of the heater. It turns on when it’s too cold in the boat and doesn’t turn off until it’s too hot. “Ah! I can do better” I said to myself.
Enter the Space Heater Remote Control. Yes, I had a dream: A thermostat that would sit by our bed, measure the temperature there, where it matters, and turn the space heater on or off. After not being able to find one online, I decided to build my own. (It was a great excuse to avoid some real boat work for a couple of days!)
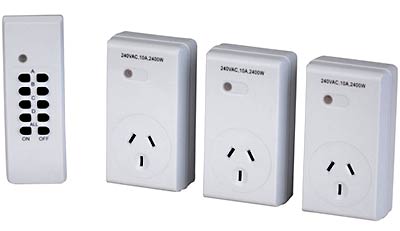
I did find what here in New Zealand is called a “Remote Controlled 3 Outlet Mains Controller,” pictured below. How hard could it be to hack one of these and use an Arduino as a thermostat?
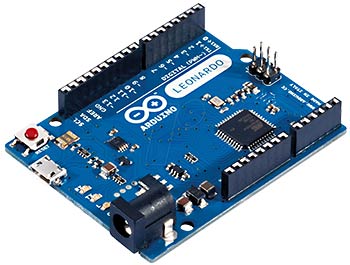
For those who don’t know, and Arduino is a little, single-board computer that’s great for DIY stuff. This is what one looks like…
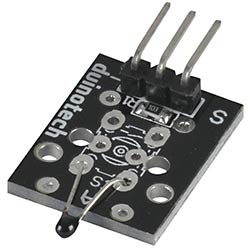
I added a small, readily available LCD to the Arduino and a temperature sensor and the project was heating up (sorry). Below is the temperature sensor I used.
The software to run the Arduino went the way it usually does for me, in that my original, very simple concept got more and more complicated as I went. It would be nice to be one of those people who plan the project out from start to finish before they start writing code but that isn’t me. I dive in and just swim through the ever-increasing waves of complexity that come at me. I generate most of those waves myself. For example: This thermostat should save the last setting when it’s powered down, right? That involves storing values in static memory but if you keep writing the same memory cell over and over, they wear out, so you need to add wear-leveling so you don’t use up the available one million cycles (which would have lasted about 37,000 years, but it’s the principle of the thing, right?). But despite the maybe unnecessary complexities, it’s done and if you want it, here it is below.
Arduino sketch: sh_therm_1-3.
Feel free to use it any way you’d like.
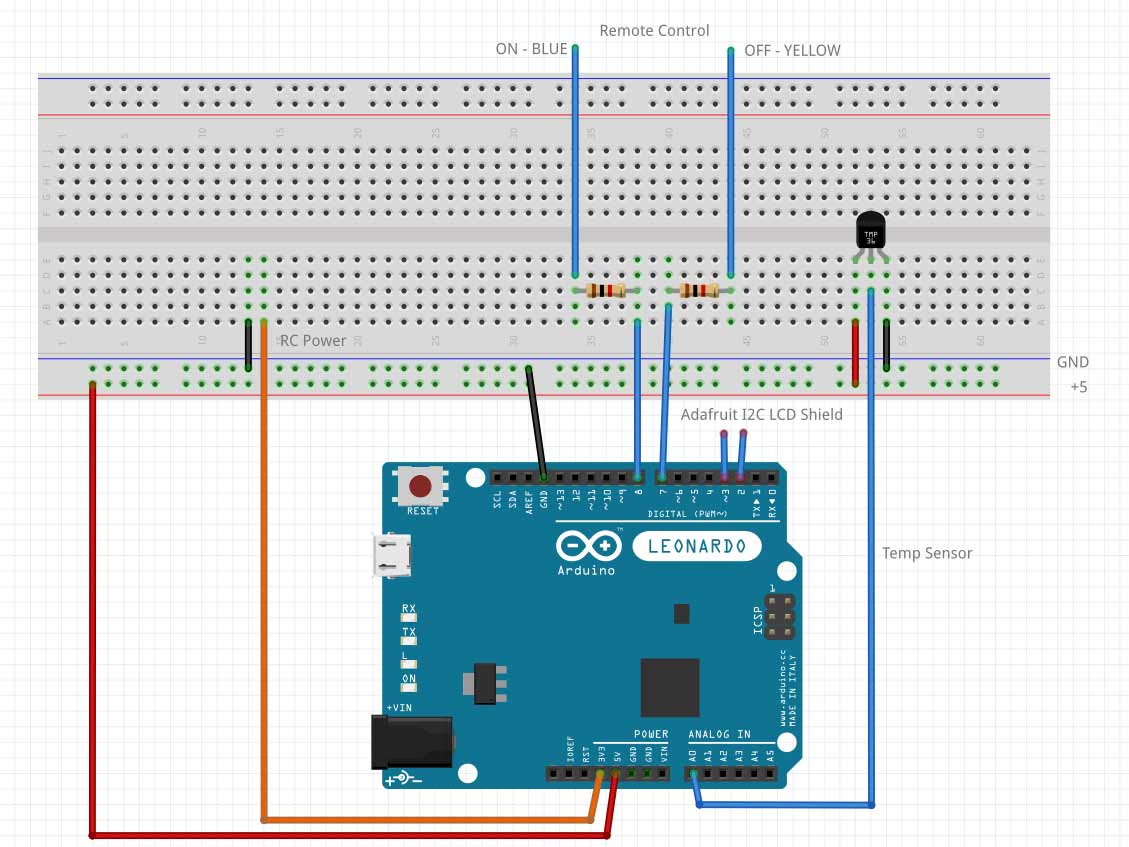
Fritzing diagram of the wiring: sh thermostat 1
(and a jpg if you don’t have Fritzing installed).
Next up: hacking the remote control to work with the Arduino. I got lucky on that front and it turned out to be very simple. There was an “All On” button and an “All Off” button (since this remote can control three outlets). I decided to use those buttons. I quick look on my oscilloscope showed that the shared contracts for those buttons was at ground or open. The other contacts were open or at 3 volts. I tried shorting those button contacts through a 1K resistor and it worked! That meant that I could connect an Arduino digital output pin to those buttons via a 1K resistor and control the remote control from the Arduino by pulsing a digital pin low for a short time (I chose 50ms kind of at random and it works).
The Mains Controller remote ran from two batteries (about 3 volts). I powering the Arduino from its built-in USB port and it has an on-board regulator with a 3.3 volt output. Close enough for powering the remote.
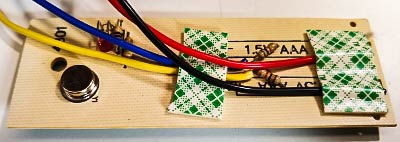
Here’s a picture of the hacked remote control board…
Cyndi described my work on this project yesterday as “frantic.” I guess it was. The weather maps showed a big cold front moving our way bringing cold air from Antarctica. I wanted to get this done before it hit.
And I mostly got it done, all except getting it stuffed into a project box. Last night, we ran it with the bare circuit boards sitting on a shelf. IT WAS GREAT! After a minor code update to turn the hysteresis down to 1°F, the boat stayed comfortable all night long and without the heater cycling on and off too often. I couldn’t be happier!
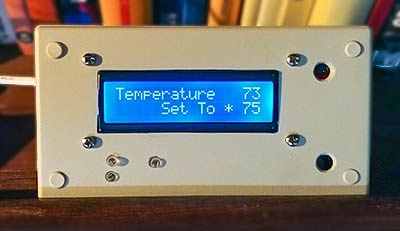
Here’s what my thermostat looks like now…
And here’s what my jacket looks like on the floor…
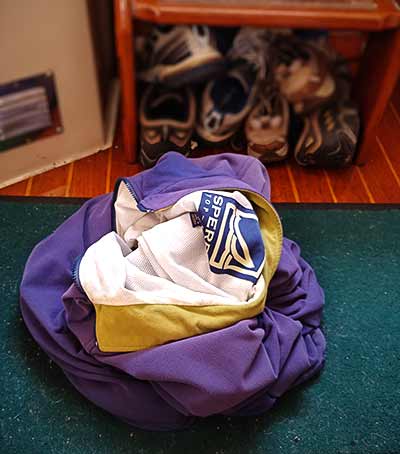
…because I no longer need to keep putting it on and taking it off when inside our boat! 😉
Update:
I made a mistake. I should have used channel A, B, C or D on the remote instead of all-on and all-off. If you take the power away from the plug unit on the AC mains, it loses it’s memory and needs to be reprogrammed by pushing the A, B, C or D buttons on the remote. All-on or all-off won’t do it. If I’d used one of those channels, then after reconnecting power to the mains unit, I could have just turned the thermostat on or off to do the programming. Does that make sense?
-Rich


